Configure Neovim - Initial Installation
Published on Feb 4, 2024
Configure Neovim - Initial Installation
Neovim is a fork of Vim, its Vim with a Lua scripting engine built-in in addition to the Vimscript engine to create plugins for the terminal based text editor. It’s highly configurable and is a great alternative to most IDE’s with performance and its keyboard centric approach. Follow along and learn how to configure Neovim.
1. Prerequisites
To run Neovim in the terminal, a few prerequisites must be met.
-
A 💻computer running an OS( Windows, Linux Distro or macOS).
-
Have Git installed, can be easily downloaded from the downloads page of Git or using a package installer on the terminal.
-
A graphical text editor that comes with the OS or using Neovim after installation to edit files.
2. Checking for package manager
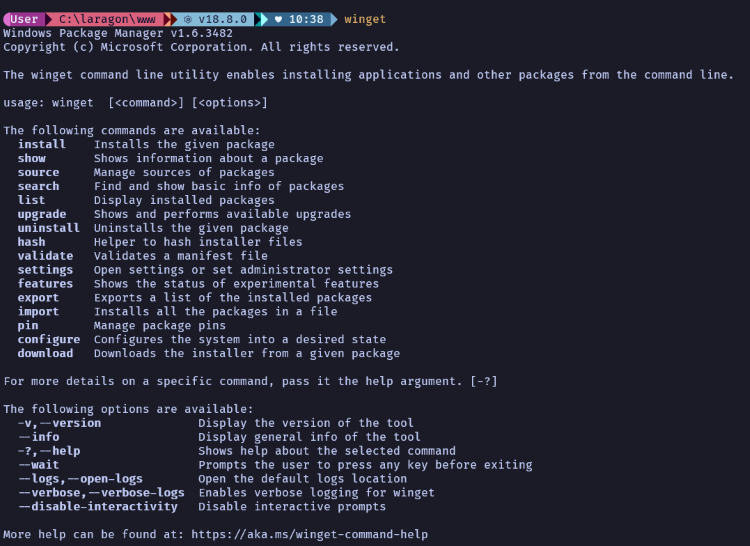
I have gotten used to using the terminal on Windows 10 (i.e. powershell) to install most of my applications that I use today. I use winget to install
most of my applications. You cancheck if winget is installed on your powershell terminal by running the winget command.
2. Installing Git
Git is a version management system that is the industry standard. It is widely used by GitHub and other distributed version control providers online.
It can be installed using the Download page or the package manager of your choice.
I use Winget,the command for my system is
powershell winget install --id Git.Git -e --source winget

Follow the installation instructions when the installation window pops up. When the installation is done you will see the message “Successfully installed” on the terminal.

3. Installing Neovim
Neovim can be installed by following to their download page on GitHub and following instructions on the page. I use Windows 10, so I can download an installable binary file or use Chocolately or Scoop package manager or even Winget, which is baked in to Windows.
Personally, I use Winget to install applications using the terminal, so type in winget install Neovim.Neovim. When the installation is done you
will see the message “Successfully installed” on the terminal.
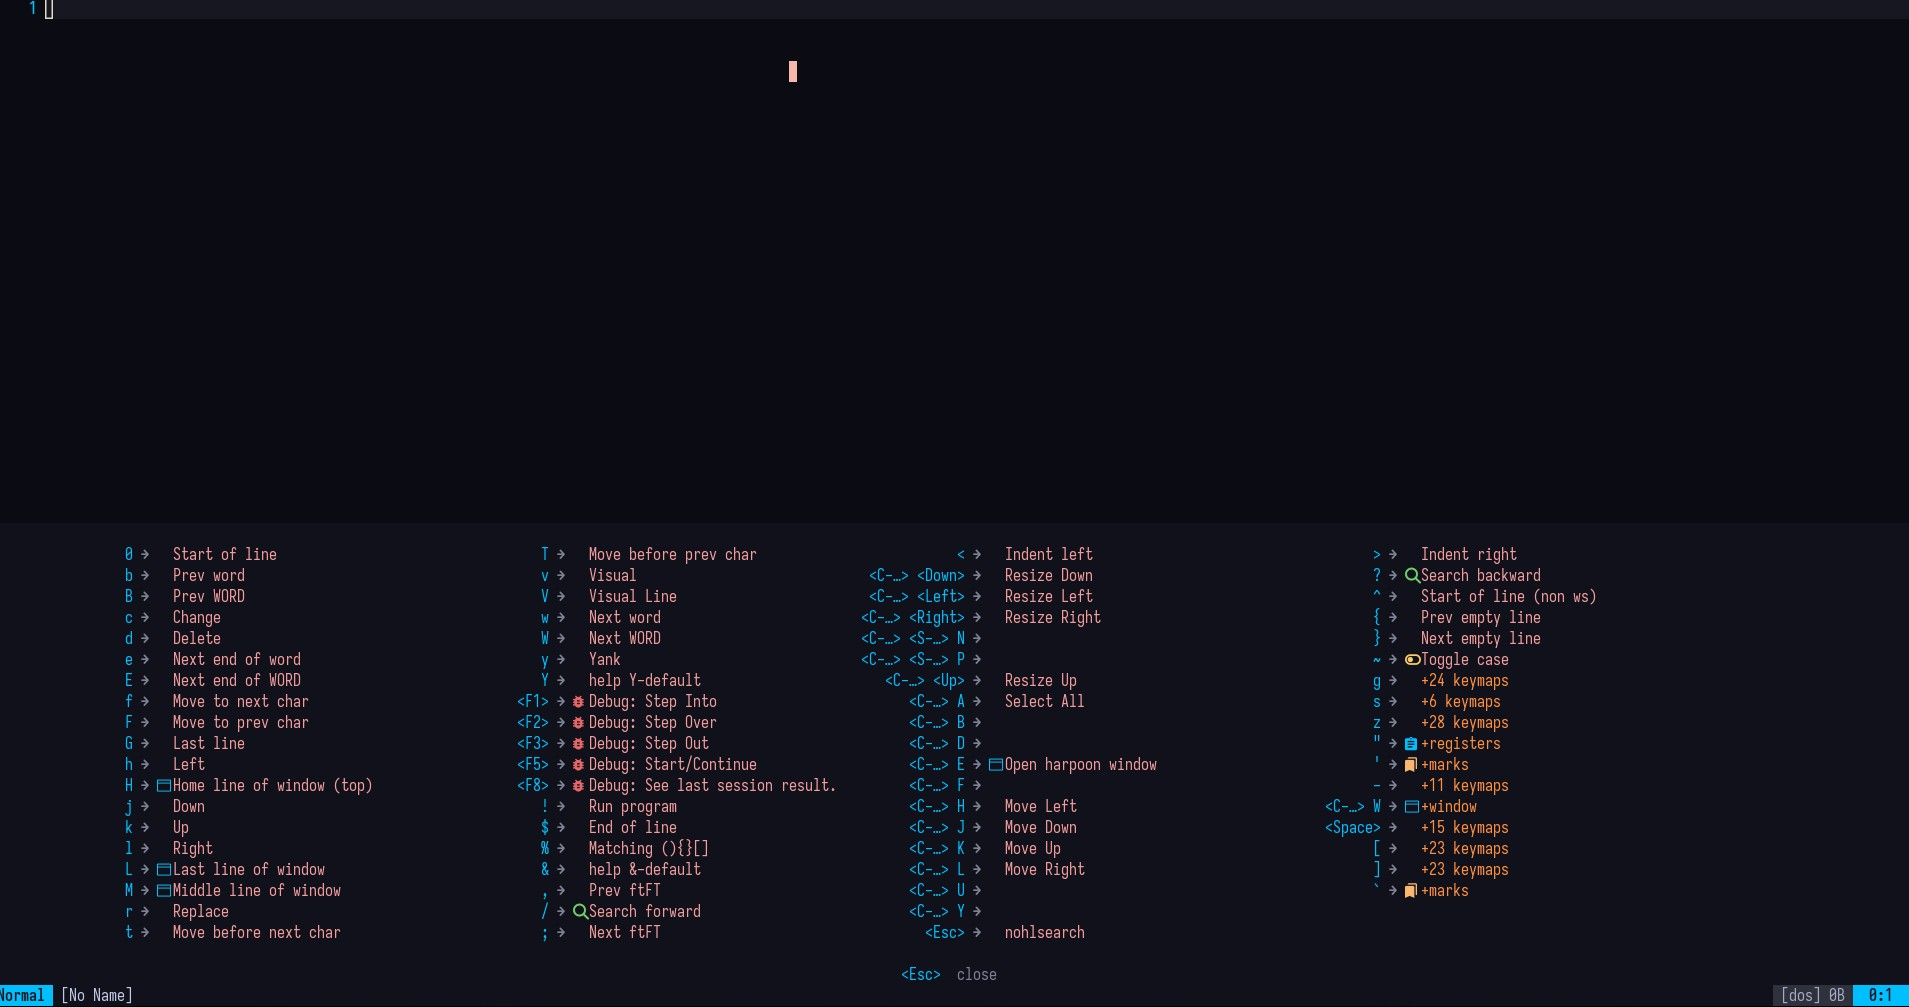
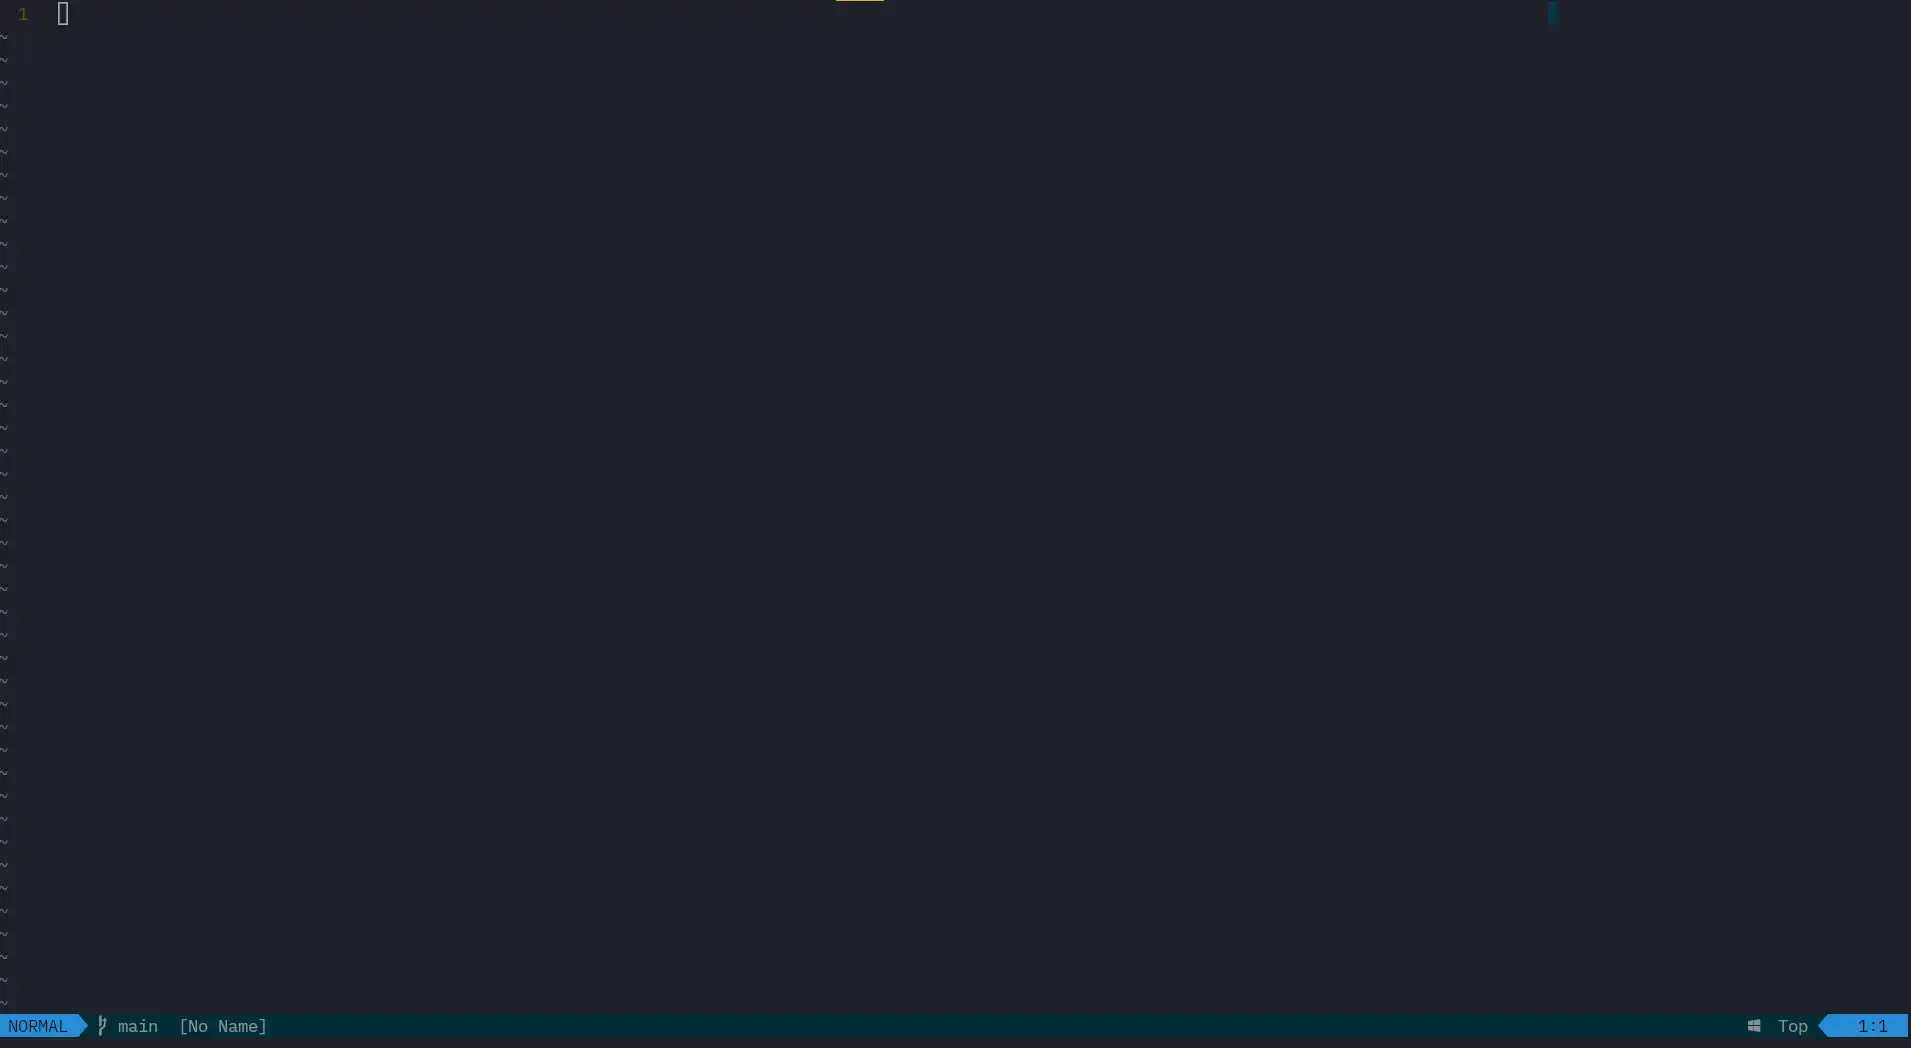
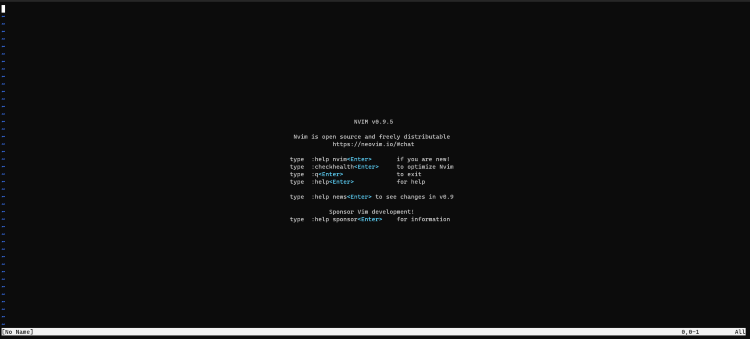
After installing using whichever method you choose, this should be your terminal screen once you enter the nvim command in the terminal. It
will look like this.
So with these steps completed, it is time to start adding a package manager along with the plugins we want to customize the vanilla neovim experience to something a little colourful.